Guide to Installing / Upgrading a z68x Hackintosh to Mountain Lion
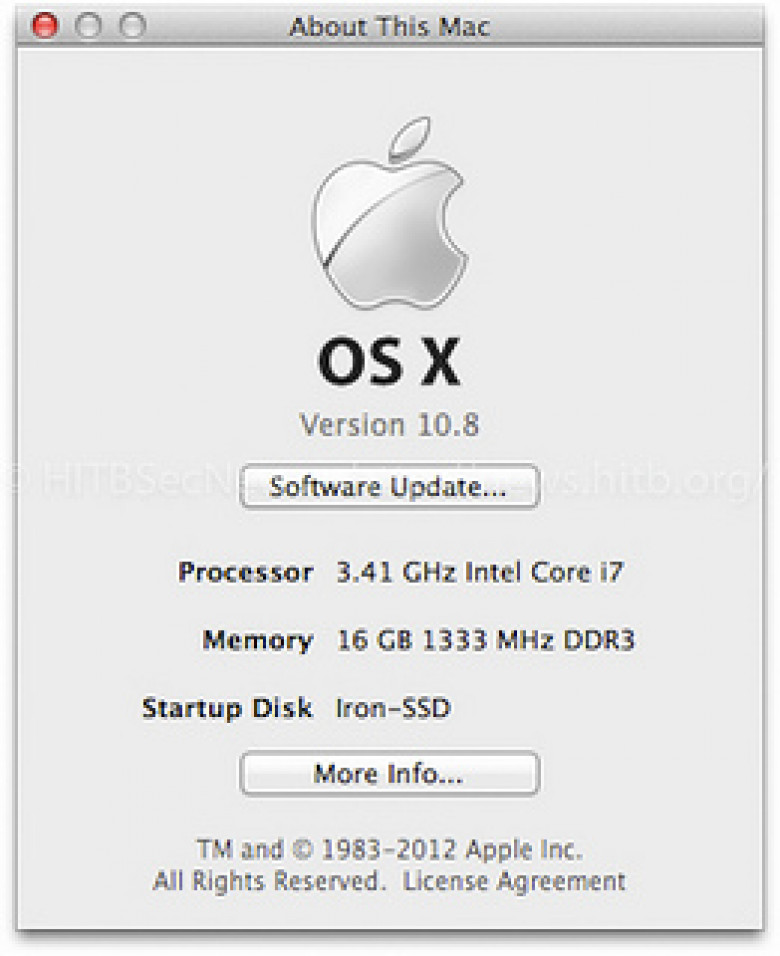
With the Gold Master of Apple’s next ‘big cat’ operating system, Mountain Lion aka OS X 10.8 released to developers last week, it seems like a good a time as any to write up a quick install / upgrade guide for all Gigabyte z68x-UD3-B3 hackintosh users. (Note: If you’re looking for the OS X 10.7 install guide from last year, the link is here).
The retail edition of Mountain Lion is set to go on sale at the end of July, bringing with it a bunch of new features and enhancements including Gatekeeper - Apple's new sandboxing and digital signature checking mechanism that aims to improve OS X security. For those of you with a developer account however, you can grab the Gold Master edition via the official Apple developer site - although you can find copies of OS X 10.8 Gold Master on The Pirate Bay, don't be a cheap bastard - the retail copy is only USD19.99 and if you want to experience the instabilities of installing a .0 release of OS X before 'everyone else', you can pay Apple USD99 a year for the privilege. Moving on...
Prepping Your Install Medium
The installation instructions for Mountain Lion are pretty similar to that for 10.7 and you’ll be extracting a couple of key components from the installer (.dmg) and adding some other files to your USB stick in order to make it bootable.
You'll need:
1 x 8GB or larger USB stick
1 x Mountain Lion GM install .dmg
1 x Enoch-rev.2009.pkg (Chameleon version 2.1 r2009) - Yes, 2015 is available as well - http://www.osx86.net/view/2848-chameleon_r2015_-_mountain_lion_%5Bupdat…
1 x FakeSMC.kext (v4 is what we used) - http://www.osx86.net/view/2425-fakesmc_v4_and_plugins.html
1 x NullCPUPowerManagement.kext - http://www.osx86.net/view/16-nullcpupowermanagement_%2832--64-bit%29.ht…
1.) Open up Disk Utility and format your USB stick as Mac OS Extended (Journaled).

2.) When done, mount your Mountain Lion GM Install .dmg and you’ll have a new mounted partition called Mac OS X Install ESD.
3.) Fire up Terminal and run the following command defaults write com.apple.finder AppleShowAllFiles TRUE followed by killall Finder
4.) While still in Terminal, run the following open /Volumes/Mac\ OS\ X\ Install\ ESD/BaseSystem.dmg

5.) Switch back to Disk Utility, click on your USB drive and choose the Restore tab
6.) In the Source section choose Mac OS X Base System and in the Destination field, drag and drop your USB drive to it and click Restore.
7.) The process should take about 5 - 10 minutes depending on the speed of your drive. When done, you’ll notice that you’ll now have two ‘Mac OS X Base System’ mount points in the Finder. Figure out which one is your USB drive and navigate to /System/Installation/

8.) Remove the symlink to Packages that’s in there and then open up a new Finder window to Mac OS X Install ESD and copy the Packages folder from in there to /System/Installation/ on your USB stick – It’s about 3.85GBs in size
9.) Open up /System/Library/Extensions on your USB drive and copy FakeSMC.kext and NullCPUPowerManagement.kext into it (As we were upgrading from Lion, we simply copied all extensions from /Extra/Extensions and also the entire /Extra/ folder from our 10.7 install into the root of the USB thumb drive)

10.) Open Mac OS X Install ESD in Finder and drag and drop the file mach_kernel into the root of your USB drive

11.) Lastly, run Chameleon v2.1 and make sure you select your USB drive as the destination. When done, don't forget to copy the installer over to your USB drive as you'll need it post installation.
All done! Reboot, choose your USB drive as the first boot device in your BIOS and if all went well you should see the Lion Installer screen. On our system, installation to an Intel 128GB SSD took about 15 minutes – Do note that we were basically UPGRADING from OS X 10.7 and not doing a fresh install.
When the installation is done, reboot but don’t remove your USB stick just yet as you’ll still need it to boot up your Mountain Lion install. If you upgraded from 10.7 and all went well, you should find yourself booted right back into OS X with all your accounts, documents, applications and settings intact. Once booted, run Chameleon again, this time choosing your HDD / SSD as the install point. Copy the /Extra/ folder from your USB stick to the root partition of your drive, and rename com.apple.Boot.plist to org.chameleon.Boot.plist
Unmount your USB drive and reboot to see that everything works as it should.
Post Installation Issues on z68x-UD3-B3
Like all hackintosh’s there are SOME things that don’t work out of the box and will require some tweaking. Thankfully if you’re upgrading your machine from 10.7, you’ll most likely encounter a 90% working machine (or 100% if you’re REALLY lucky!) – In our case, there were a couple of things that needed tweaking.
Sound (ALC889 Chipset)
There are various patched AppleHDA kexts floating around on Osx86.net however the one that worked for us was 2210-AppleHDA-DP2.kext.zip (http://www.osx86.net/view/2210-alc889-osx10.7.2.html) though there are reports of people having success with ALC889_Lion_v2.zip (http://www.insanelymac.com/forum/index.php?showtopic=140941)
TRIM Support
Our Intel SSD lost it’s TRIM support, but this was easily fixed with the latest version of Trim Enabler which works perfectly on Mountain Lion: http://www.groths.org/?page_id=322
CMOS Reset After Wake from S3 Sleep
The dreaded CMOS reset after wake from sleep issue is still present in Mountain Lion and patching of the AppleRTC.kext is needed in order to fix it. Not ideal, but it works (thanks to the tireless work of Rayap):
sudo perl -pi -e 's|\x75\x30\x89\xd8|\xeb\x30\x89\xd8|' /System/Library/Extensions/AppleRTC.kext/Contents/MacOS/AppleRTC
The community is still hard at work trying to find a permenant solution for this CMOS reset issues and there’s even a tool (CloverRTCTool) to help hackintoshers locate the changes to RTC in order to properly edit their DSDT layouts. For more details on their progress, check our the InsanelyMac thread: http://www.insanelymac.com/forum/index.php?showtopic=276066
On Board Networking
Strangely Mountain Lion doesn’t like the RealtexR1000SL.kext from 10.7 and we lost on-board networking after install. Thankfully Lnx2Mac’s RealtexRTL81xx-0_0_90.pkg works perfectly fine as a replacement
(http://lnx2mac.blogspot.com/p/realtekrtl81xx-osx-driver.html) For some strange reason, we also found that despite having WiFi working by default (The D-Link DWA-556 PCI-e is detected as an Airport Extreme), iCloud would not connect if you do not have on-board Ethernet present - whether or not it is enabled doesn’t really matter, but it needs to be detected by OS X 10.8 it seems.
Other OS X 10.8 Specific Stuff


If you depend on command line development tools like gcc, you’ll now need to install it as a separate download to Xcode 4.5 – You’ll find it under the Downloads tab in Xcode preferences. Also, Apple has stopped bundling X11 (needed if you’re a VLC user for example) but never fear, there’s XQuartz – the open source effort to develop a version of X11.app for OS X - http://xquartz.macosforge.org/landing/
Resources
OSx86.net (Mountain Lion Forum) - http://www.osx86.net/10-8-mountain-lion/
InsanelyMac (Mountain Lion Forum) - http://www.insanelymac.com/forum/index.php?showforum=293

